Getting started12 min read
Getting started in your first day
Go from a new account to a property that can take its first booking: the onboarding wizard, rooms, rates, team and a test booking, in one working day.
Written for ownerWhat you will have by the end of the day
A property with its rooms, taxes and policies, a standard rate plan, your team invited with the right roles, and one test booking taken from start to finish. You do not need to set up everything RoomAnchor can do on day one. Restaurant, spa, channels and finance can wait until the basics are running.
You can practise in test mode before you go live. While it is on, payments are simulated, nothing is charged and a test mode banner shows across the workspace. Ask us to switch it on or off for your organisation.
Before you start
Have these to hand:
- Your legal company name, trading name and tax number (BIN for Bangladesh)
- A list of room types and the rooms in each, with room numbers or names
- Your VAT and service charge rules
- Your cancellation and deposit wording, as you tell guests today
- The names and email addresses of the people who will use the system
Step 1: run the onboarding wizard
When you first sign in as the owner, the workspace opens the onboarding wizard. It has eight steps:
- Property: name, type (hotel, resort, serviced apartments, guest house and more), address, check-in and check-out times.
- Rooms and units: your room types and the physical rooms. You can add rooms in bulk, for example 101 to 110.
- Amenities: what guests get in each room type and at the property.
- Taxes and fees: percentage or fixed, inclusive or added, per stay, night or person.
- Policies: cancellation, deposit, check-in, children, pets, smoking and house rules, with the wording guests see.
- Payments: which payment methods you accept.
- Team: invite the people who will work in the system.
- Go live: opens the property for bookings at the front desk and on the booking website.
Everything you enter in the wizard can be changed later from Setup > Properties and Setup > Rooms & units, so do not hold up the day trying to make it perfect.
Step 2: fill in the organisation details
- Open Setup > Settings and choose the organisation page.
- Add your legal name, tax number, registration number, billing address and logo.
- Check Defaults for new properties: country, currency (BDT), time zone (Asia/Dhaka) and language.
Properties follow these values unless you switch on "Use a different value for this property" on the property page. Invoices print the legal name and tax number from here.
Step 3: check your rates
Going live creates a standard rate plan. Open Revenue > Rates & availability and check the nightly prices for each room type. If you sell breakfast, add a linked "Bed and breakfast" plan now (see the rate plans guide). Seasons and promotions can come later in the week.
Step 4: invite your team
- Open Setup > Team and invite each person by email.
- Give each person one or more roles, such as Front desk agent, Housekeeping supervisor or Accountant.
- Choose whether they see all properties or only the ones you pick.
Step 5: take a test booking
- Open Front office > Reservations and choose New booking.
- Pick tonight, one adult, a room type and a plan, and create a guest called "Test guest".
- Go to Front office > Front desk, check the guest in, take a payment on the folio and check them out.
- Look at Operations > Housekeeping: the room is now dirty with a departure clean waiting.
If anything looks wrong on the folio, it is usually a tax setting or a rate price, both of which you can fix now while nothing real depends on them.
Tips
- Start with one property even if you run several. Add the rest once the first one feels right.
- Use the property switcher at the top of the sidebar to change the current property. Most screens work on one property at a time.
- The sidebar only shows what your plan and role allow, so a person with a narrow role will see a short menu. That is expected.
Common mistakes
- Typing VAT inclusive prices with an added VAT tax. Decide whether your prices include VAT and set the tax to match, or guests will be charged twice.
- Leaving test bookings in place. Cancel the test booking before you start taking real ones, so it does not appear in occupancy reports.
- Giving everyone the owner role. The owner bypasses every permission check. Use the role templates instead.
Still stuck?
Tell us which step you are on and what you see on screen. We will walk you through it.
Contact supportRelated guides
All guides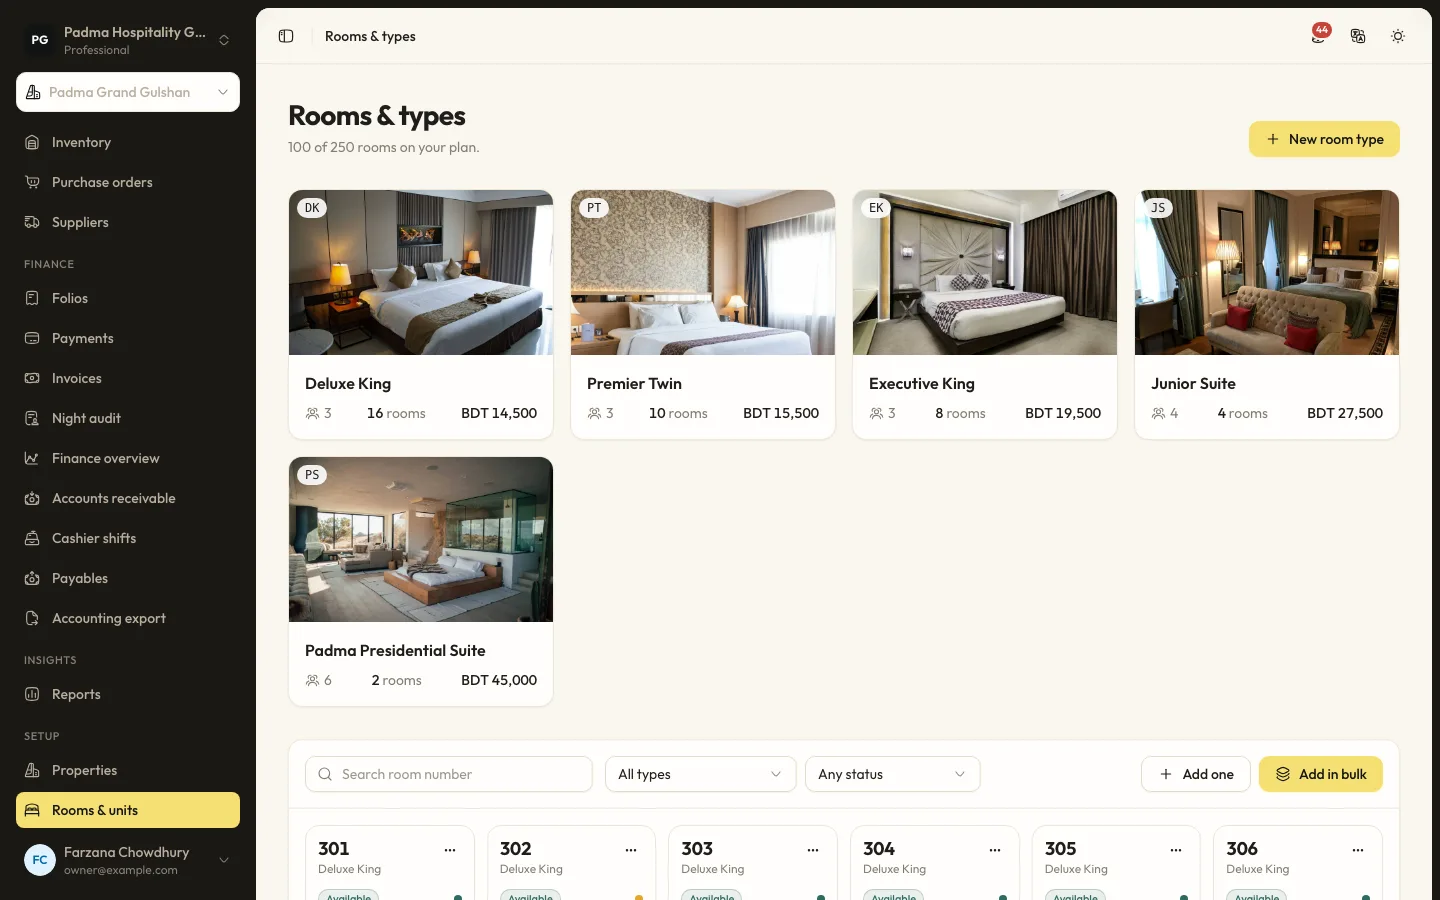
Getting started7 min read
Setting up rooms and room types
Describe what you sell with room types, add the physical rooms, and keep the count inside your plan.
Guests and marketing7 min read
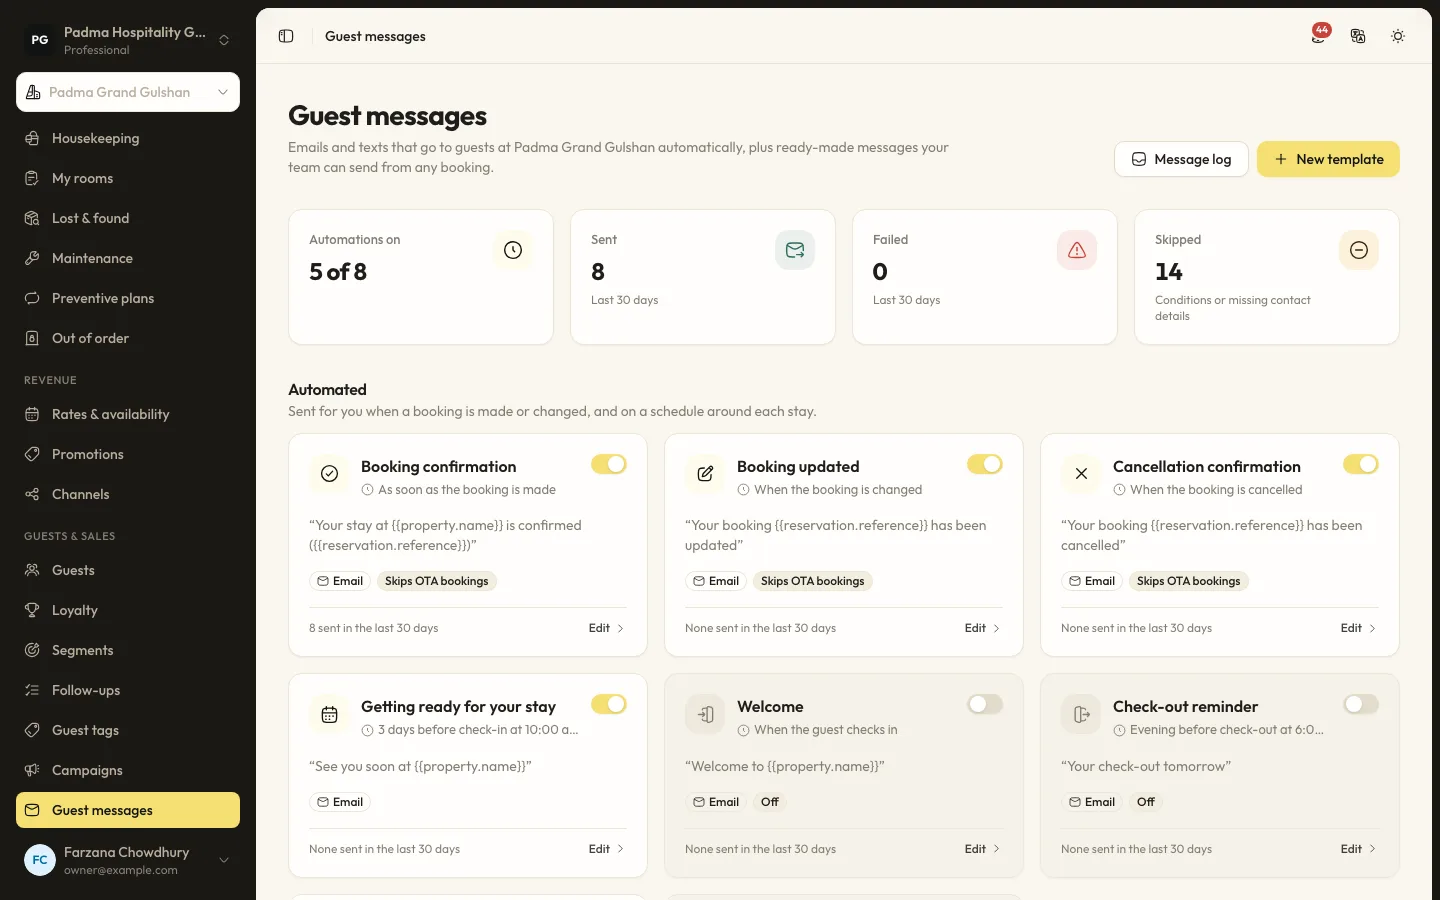
Automated guest messages and SMS
Send confirmations, pre-arrival notes, welcome and post-stay messages by email or SMS, with merge tags, conditions and a full log.
Guests and marketing8 min read
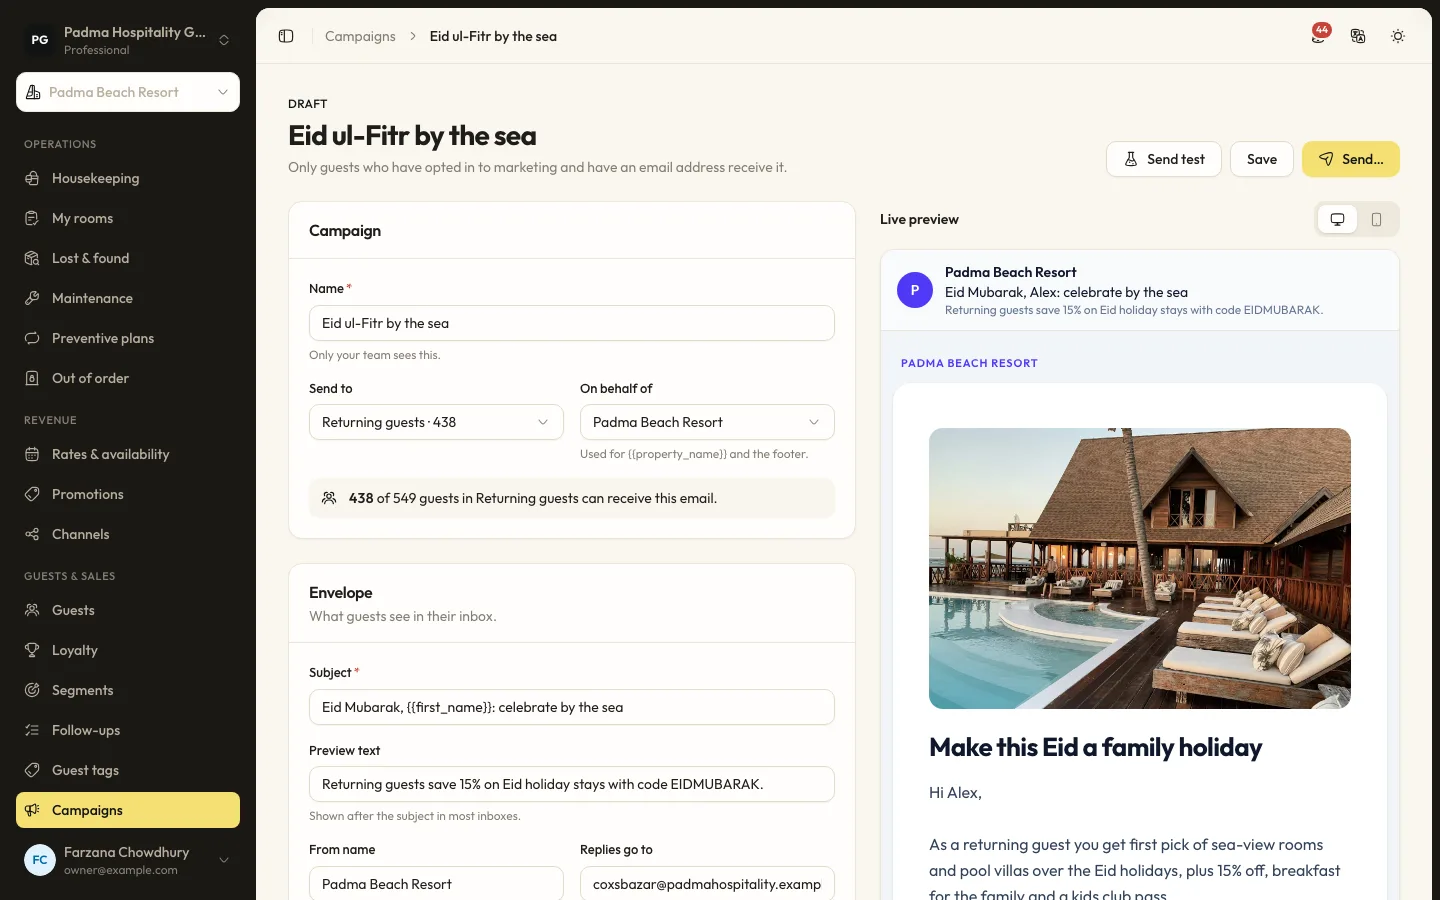
Guest segments and email campaigns
Group guests by stays, spend, tags and more, then send a tracked email campaign to those who opted in.
See it working with your own rooms.
A 30 minute call with someone who has run a front desk. Bring your questions and your room list.